
How to create a location in Loopfront.
All objects in Loopfront, must be registered to a specific location. A location must be created before a product can be added or ordered to it.
Note: The number of locations you can add can be restricted and is reflected in your organization's subscription plan. Please contact support@loopfront.com if you have reached the limit for the number of locations in your subscription and would like to add more locations.
To create a location, go to “Locations” via the main menu and click “Add location”.

Data fields in the registration form are mandatory to fill in unless specifically marked as “optional”. The following data fields are mandatory:
- Location name
- Location address
- Location type
- Building floors
Are you going to conduct surveys according to TEK17 / BREEAM requirements?
If you have the functionality for TEK17 / BREEAM re-use surveys available in the system, the registration form for locations will also highlight which information about the building is required for these surveys.
This information will also appear in Loopfront's re-use survey exports.

Location photo (optional)
Upload a photo in png or .jpeg format that represents you location (or project) that makes it easier to identify it in the location overview. Photos with landscape format are recommended, as the platform displays photos that way by default.
Location name
Typically the name of the building, the project, a subset name describing the surveyed tenant or floor, or simply street name and number.
Location address
The adress must be recognizable by Google Maps, as the platform integrates directly with that database. The platform will continuously suggest street names from Google's database.
Be sure to enter the correct street number when you have entered or selected a street name from the list, as street numbers are not included in Google's automatic suggestions.
Description (optional)
Free text field: information that is not predefined elsewhere in the form. For example, deadlines that affect surveying, details of a project, contact persons, etc.
Area subject to reuse survey (optional)
The area within the location that will be covered by a reuse survey (in m2).
Location type
The main difference is that orders or relocations to a storage location do not count as savings in Reports. As a rule of thumb the difference between buildings and storages in Loopfront is:
- General building: A facility where objects currently are in-use or considered / planned for reuse.
- Storage: A facility where objects are being stored. Storage locations can be of any size and shape – anything from a single room in a general building, to a defined area on a floor, an entire floor, or an entire location.
Location - Building floors
Your location must have at least one defined floor. Add or delete floors by clicking the + / x buttons.
- Floors can be above or below ground level.
- Floor code is mandatory, while floor name is optional.
- You can add floor plans for further insight into rooms or areas. Read more here about interactive floor plans
Floor name (optional): Enter free text if relevant. Can be the name of the tenant, area, section, etc.
Don’t be afraid of getting creative when defining your location floors. For instance, you can split a floor into several levels if you need a simple way of differentiating between two tenants, sections or areas. The same floor code can be used on more than one floor level.
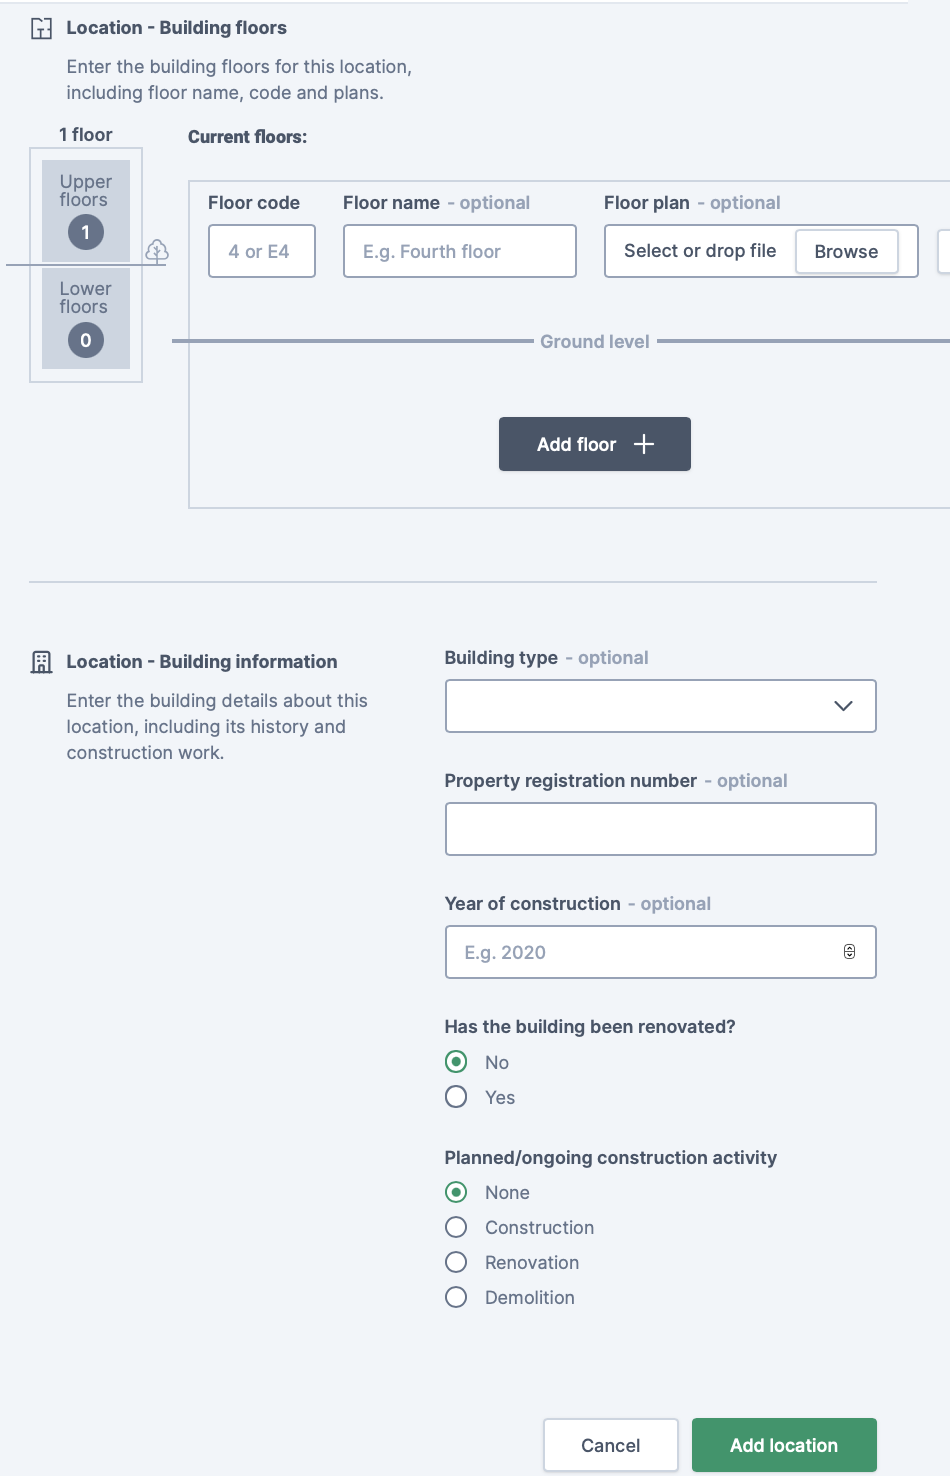
Building type (optional)
This feature can be used for filtering locations by building type. Select the type of building that described the location best.
Property registration number (optional)
Free text field. Different countries can have different systems for giving a building a unique ID.
Renovation (optional)
If the building has been renovated, you can enter the year. In case there has been more than one renovation, enter either the most recent or the most significant one.
Construction (optional)
If you will survey building materials, it will be of interest to other users to know when construction activity is scheduled. Enter dates.
Once added, your locations are listed as an individual ‘location ’ via the Locations main menu.

The icon in the bottom right corner indicates whether it’s a building or a storage location. Click on the location card to view your location details.